
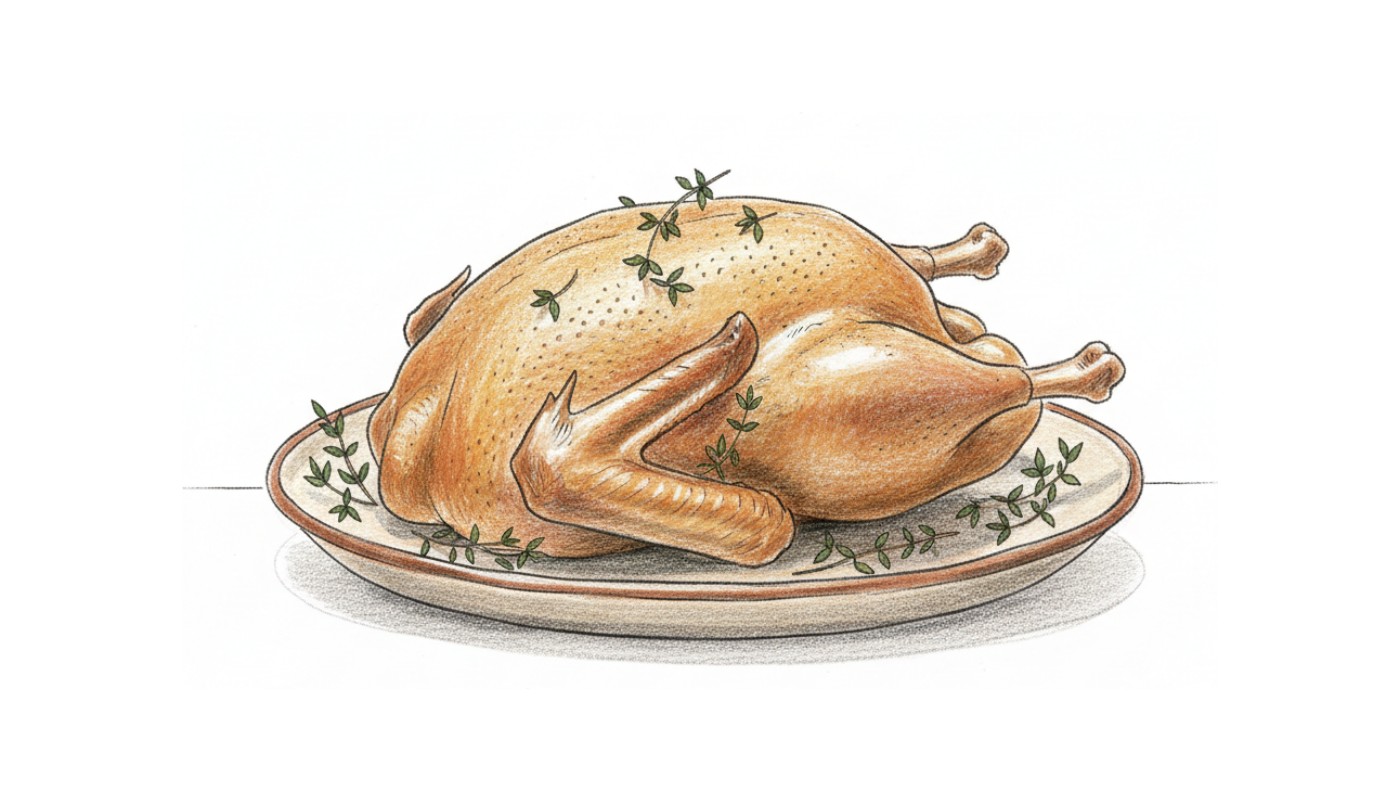
Choosing and inspecting the bird
Most whole ducks sold for roasting are Pekin (also labelled Long Island or White Pekin), running 1.8–3.2 kg (4–7 lb) with a thin, even fat cover under pale skin. Check the packaging date, look for skin that is dry rather than slick or grey, and press the breast gently — it should spring back rather than feel waterlogged. A bird sitting in excess liquid in its tray has likely been frozen and thawed less carefully than you'd want; it will still cook safely, but it will render less cleanly.
Buy by weight, not by "serves four" labelling. A whole duck yields far less cooked meat per kilogram than chicken — plan portions with the serving calculator before you shop, since the honest yield surprises most first-timers.
Where the bird comes from
If you do not have a local source, the guide to buying duck online covers shipping, sizes and what to inspect on arrival, and whole duck cooking time maps the weight you end up with to a realistic oven window.
Drying, trimming and scoring
Unwrap the duck as soon as you get it home, pat it dry, and set it uncovered on a rack over a tray in the fridge for at least 8 hours and ideally overnight (up to 24 hours). This single step does more for crisp skin than any oven trick — it pulls surface moisture out so the skin starts dry instead of steaming in the first twenty minutes of roasting.
Before it goes in the oven, cut away the loose flaps of neck skin and the thick pads of fat just inside the cavity opening — render these separately in a small pan rather than leaving them to smoke onto the bird. Then either prick or score the fat cap: pricking uses a skewer or fork tip at a shallow angle over the thighs, back and lower breast, just deep enough to open the fat without reaching the meat; scoring uses a paring knife in a light crosshatch over the breast skin only. Either works — pricking gives more escape routes for fat over a large area, scoring gives a more deliberate pattern on the breast. Don't do both hard, and never cut into the meat itself; that lets juices out instead of fat.
A light truss — tying the legs together and tucking the wingtips under the body — keeps the bird compact and the breast from splaying, which helps even cooking. It doesn't need to be tight or elaborate.
Rack, tray and oven strategy
Set the duck breast-side up on a roasting rack over a tray deep enough to catch the fat it will render — a whole duck can release 1–2 cups (240–475 ml) of fat over a roast, and an overflowing tray is a real fire risk in a hot oven. Vessel sizing, rack choice, and how to handle a hot pan of fat are covered in the roasting pan guide.
Two oven strategies both work well. The low-render-then-hot-finish route starts at 300–325°F (149–163°C) for the first hour or so to melt fat gently without hardening the skin, then finishes at 425–450°F (218–232°C) for the last 20–30 minutes to crisp and colour it. The steady-temperature route holds a single moderate oven, around 350°F (177°C), for the whole roast and relies on time and the fat cap alone for crisping. The two-stage method generally produces crisper skin; the steady method is simpler to manage if you're also cooking other dishes. Neither is "correct" — treat the times below as planning ranges, not guarantees, and use the cooking-time planner to set a starting point for your bird's weight.
| Weight | Two-stage total | Steady-oven total |
|---|---|---|
| 1.8–2.0 kg (4–4.5 lb) | 1 hr 45 min – 2 hr 15 min | 2–2.5 hr |
| 2.3–2.7 kg (5–6 lb) | 2–2.5 hr | 2.5–3 hr |
| 2.9–3.2 kg (6.5–7 lb) | 2.25–2.75 hr | 2.75–3.25 hr |
Drain the tray of rendered fat once or twice through the roast — carefully, with the bird held back with tongs or a second pair of hands — so it doesn't smoke or spatter once it gets hot enough to shimmer.
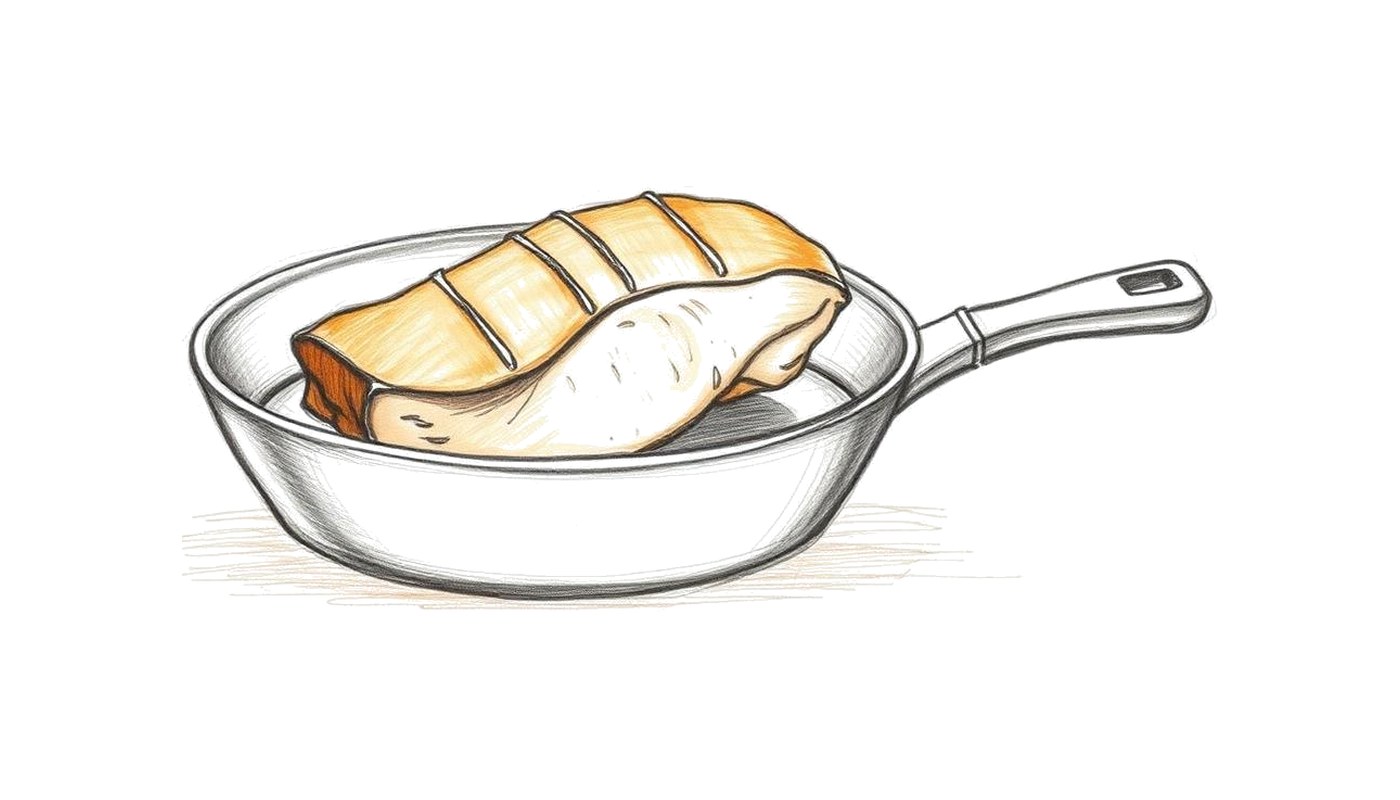
Dry, trim and season
Pat the bird dry, trim excess neck and cavity fat, prick or score the fat cap, and season the cavity and skin generously with salt.
Rack over a deep tray
Place breast-side up on a rack set inside a roasting tray deep enough to catch rendering fat.
Low render
Roast at 300–325°F (149–163°C) until the fat cap has visibly softened and started to run, roughly the first half of total time.
Watch for A tray filling faster than expected — drain it rather than letting it approach the rim.
Hot finish
Raise the oven to 425–450°F (218–232°C) for the last 20–30 minutes to colour and crisp the skin.
Check temperature in two places
Probe the thickest part of the thigh, avoiding bone, and the thickest part of the breast. Both need to read at least 165°F (73.9°C).
Rest
Rest the whole bird 15–20 minutes, loosely tented, before carving. Internal temperature will continue to climb slightly during this time.
Carve and save
Carve legs and breasts, pour off and strain the rendered fat once cool enough to handle, and keep the carcass for stock.
Quack Fix: whole duck
Four problems that show up on almost every first attempt, and what to do about each.
Skin is soft or flabby, not crisp
- Likely cause
- The bird went into the oven with wet skin, or the fat cap never fully rendered before the hot finish.
- Fix now
- Run the tray under the broiler for a few minutes, watching closely, to finish crisping.
- Prevent next time
- Dry uncovered in the fridge overnight and don't skip the low-render stage.
Breast meat is dry by the time legs are done
- Likely cause
- A single flat internal temperature target ignores that breast and thigh cook at different rates.
- Fix now
- Nothing recovers dry breast meat; slice thin and serve with a sauce to compensate.
- Prevent next time
- Check the breast a few minutes before you expect it to finish, and pull earlier if the legs still need time — or tent the breast with foil partway through.
Legs are still pink or tough at the thigh joint near the bone
- Likely cause
- The joint area cooks slower than the surrounding flesh and the probe missed the true thickest point.
- Fix now
- Return the bird to the oven and recheck every 10 minutes until the thigh clears 165°F (73.9°C).
- Prevent next time
- Probe close to but not touching the bone, and check both legs — they don't always finish evenly.
Oven is smoking
- Likely cause
- Rendered fat has overflowed the tray or is scorching on a hot pan surface.
- Fix now
- Lower the oven temperature, carefully drain the tray, and ventilate the kitchen.
- Prevent next time
- Use a tray with real depth and drain it once mid-roast rather than letting fat accumulate.
Use the Whole Duck
Nothing here needs to go in the bin. Each of these is worth more than the packaging suggests.
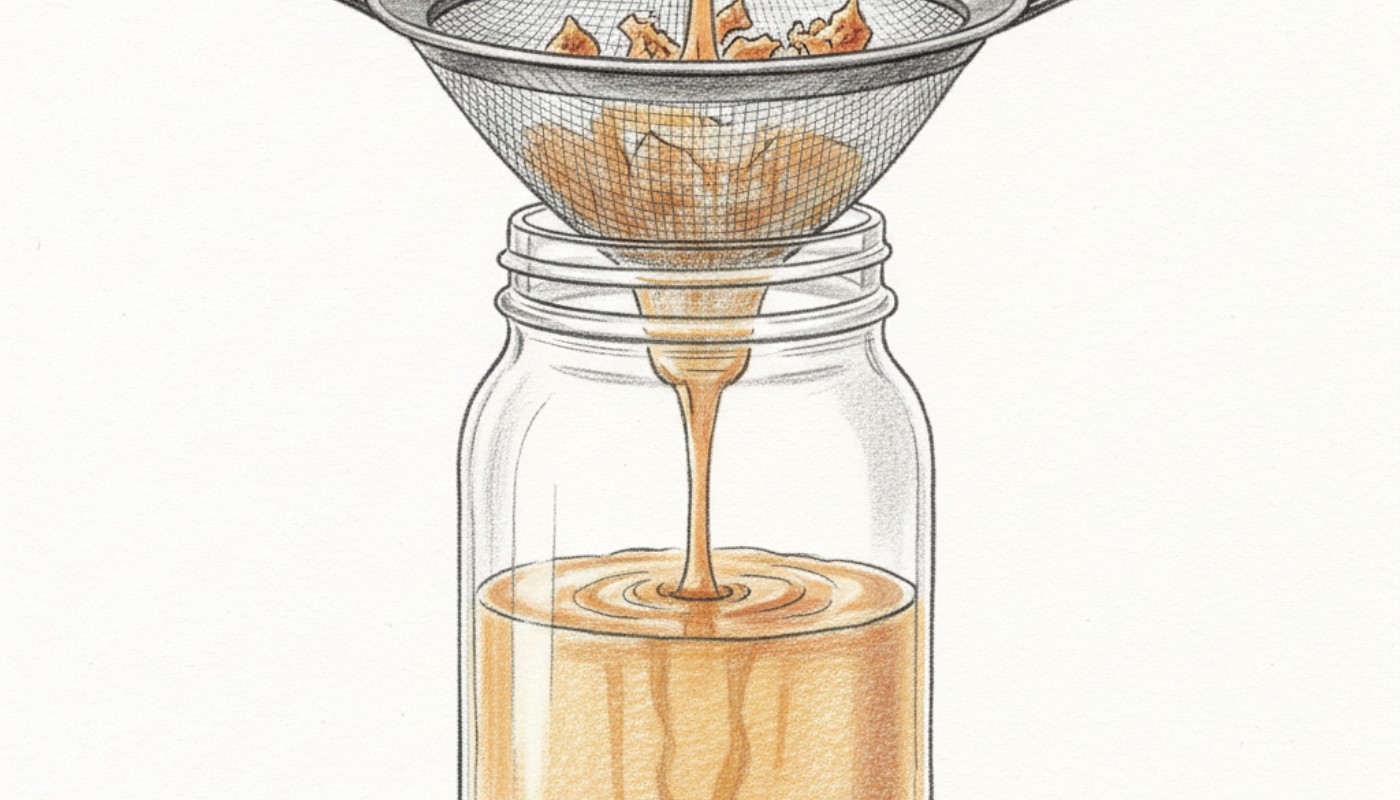
Rendered fat
Strain into a clean jar once cooled to warm; it keeps refrigerated for weeks and is the base for roast potatoes, confit and much more.
How to render and store duck fatCarcass and trim
Simmer with aromatics for a rich stock — don't discard it after carving.
Carve for clean portions first
Roasting this for a holiday puts the same method inside a much tighter calendar — order date, thaw days, one oven and a table waiting. The dated version is our Thanksgiving duck dinner plan
Common questions
- Do I need to flip the duck while it roasts?
- No. Breast-side up on a rack is standard; the rack keeps the underside from sitting in fat, so flipping isn't necessary.
- Can I stuff the cavity?
- You can, but a filled cavity slows heat penetration and complicates the thigh temperature check — see the cooking-time guide for how much longer to plan.
- Why is my duck taking longer than the planning range?
- Home ovens vary in real temperature by 15–25°F even when the dial says otherwise, and a fridge-cold bird starts slower than a tempered one. Trust the thermometer over the clock.
Cooking duck tonight? Don't guess.
Roasting a whole duck is a timing problem before it is a cooking problem. The playbook carries the planning timeline, from thawing to resting. Tell us what you're cooking in the Duck Game Plan and we'll build your temperature, timing, crispy-skin and serving plan. Subscribers also get Duck the Fundamentals, the printable 28-page playbook, a short welcome series, and occasional DeliciousDuck recipes and guides.
- A planning timeline from thawing through carving
- Fat rendering and basting decisions for a whole bird
- Portioning guidance so you buy the right size
- A printable kitchen card with temperatures and timings
You can also read our companion article, the Duck Cooking Starter Guide, plus the temperature and doneness guide and the calculators, right now.
If you're deciding what to buy
A whole-duck roast puts different demands on your kitchen than a breast does.
- Best thermometer for duck
A long roast rewards continuous monitoring over opening the oven every twenty minutes.
- Where to buy duck online
Whole birds vary by breed, and breed changes fat yield and timing.
Related guides
- Whole Duck Cooking TimePlan by weight, finish by thermometer — and why the two never fully agree.
- How to Carve a Whole DuckSix moves, in the order that keeps the skin intact and the meat hot.
- Duck Cooking-Time PlannerA planning range for a whole duck by weight and oven temperature.
- Whole-Duck Serving CalculatorTurn a guest count into how many birds to buy.
- How to Render Duck FatFrom trim to a clean jar, plus honest storage windows.
- Duck vs. Turkey for ThanksgivingThe verdict up front, then the tradeoffs nobody mentions until the oven is full.
- How to Dry Brine DuckSalt by weight, air on all sides, and a timing plan per cut.
- How to Season DuckSix seasoning layers, what each one is for, and the order they belong in.
- Roasted Whole DuckA two-stage roast that renders the fat cap, keeps the breast juicy, and gets the legs fully tender.
- Duck à l’OrangeA whole duck roasted in two stages, served with a bitter-orange gastrique built from the pan drippings — sharp and glossy rather than sweet.
- Thanksgiving Duck Dinner PlanChoose your table, then order date, thaw date, oven schedule and menu — with a printable checklist.
- How to Thaw Duck SafelyFridge-first planning times, plus the cold-water fallback when you're late.
- How Much Duck Per PersonCooked-weight portions, whole-bird yield, and when to size up.
- Best Roasting Pan for DuckA rack, room for the fat, and a measured fit — the rest is preference.
- Peking Duck at HomeA home cook's route to lacquered, shatter-crisp Peking-style duck: air-dry, scald, glaze, and roast, served with pancakes, scallion and hoisin.