Cooking duck tonight? Don't guess.
Tell us what you're cooking and we'll build your temperature, timing, crispy-skin and serving game plan — then send it to you with The Duck Drop, our short course on the fundamentals.
- Temperature and resting for your exact cut
- The one move that decides crispy skin
- Timing, portions, and what to serve with it
Start here: duck is not chicken
Almost every problem a first-time duck cook runs into comes from treating duck as a darker chicken. Two differences drive nearly all of it. First, fat: duck breast carries a thick fat cap under the skin that has to be melted out slowly before the skin can crisp, and a whole duck sits in its own rendering fat as it roasts. Second, muscle type: duck breast is a dark, well-exercised muscle that most cooks treat like a steak, while the legs are connective-tissue-heavy and want long, slow cooking.
Add real variability — fat cap thickness, bird size, farmed versus wild, breed — and you get the third rule: cook duck to a temperature, never to a clock. Times on this site and in our calculators are planning estimates. The thermometer is the decision-maker.
Cut chooser: which duck to start with
| Cut | Cook it like | Choose it when | Start here |
|---|---|---|---|
| Duck breast | A steak: cold dry pan, skin down, gradual render, short rest | You want a 30-minute result and full control over doneness | How to Cook Duck Breast |
| Whole duck | A roast: long oven time, fat drained off, skin dried in advance | You're cooking for a table and want fat plus a carcass out of it | Whole Roast Duck |
| Legs | A braise or confit: low and slow until the meat gives way | You want the most forgiving cut in the bird | Duck Leg Confit |
| Wild duck | Leaner, stronger, less fat to render; shorter cooking window | You've been given birds and don't want to waste them | How to Cook Wild Duck Breast |
- How to Cook Duck Breast — the cold-pan method, start to finish.
- Whole Roast Duck — drying, timing, and fat management for a full bird.
- Duck Leg Confit — the most forgiving introduction to duck.
- How to Cook Wild Duck Breast and wild versus farmed.
The five techniques that matter most
Dry the surface — properly
Pat the skin dry with paper towels, and for a whole bird leave it uncovered in the fridge for several hours or overnight. Water on the surface has to boil off before browning can start, and that steam is the most common reason skin ends up pale and rubbery.
Watch for Skin that looks matte and slightly tacky rather than damp and shiny.
Score the fat cap, not the meat
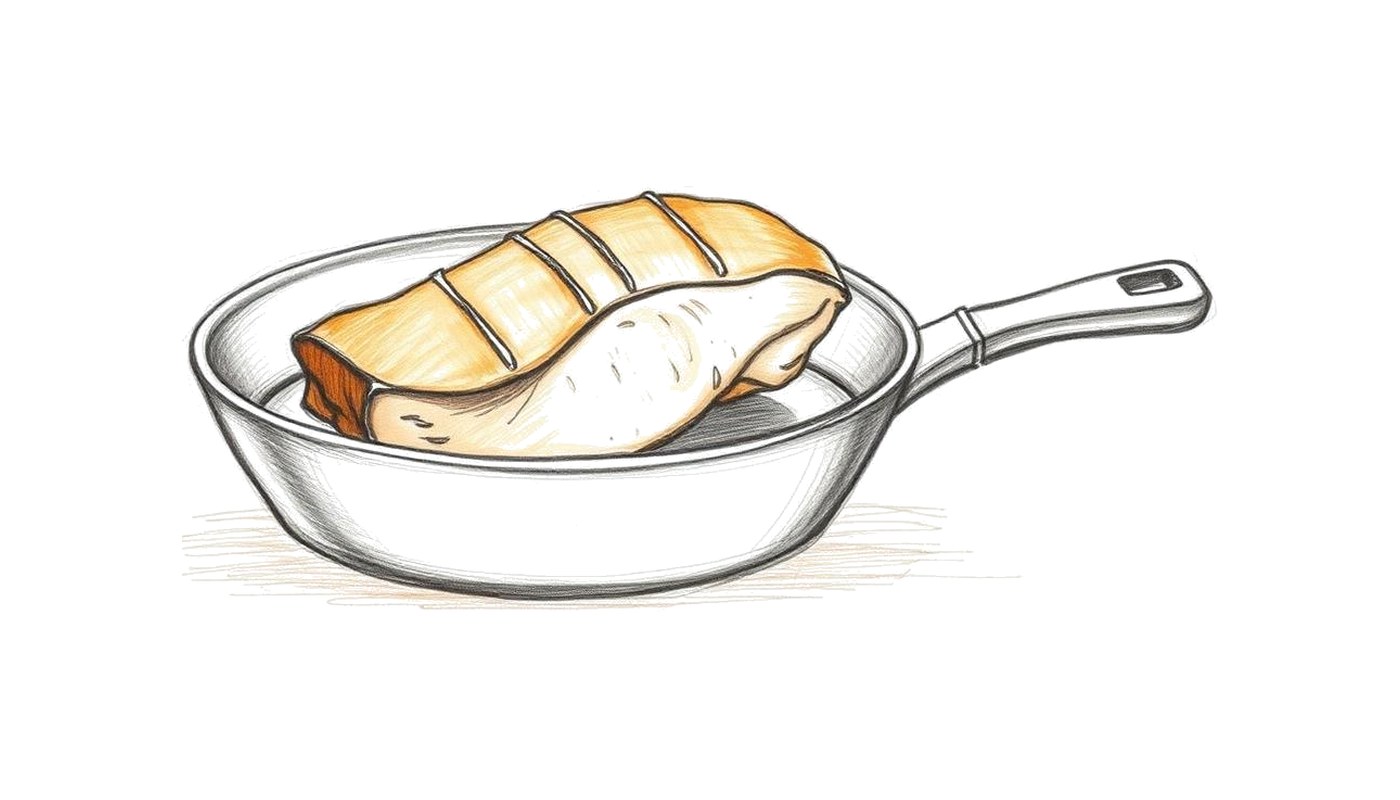
On breast, cut a shallow grid through the full thickness of the fat and stop at the membrane above the muscle. That multiplies exposed fat surface and gives melted fat a route out.
Watch for A change in resistance under the blade — that's the membrane. Stop there.
Render fat gradually over low heat
Breast goes into a cold, dry pan skin-side down over low-to-moderate heat so the fat has time to melt before the skin sets. Pour off the fat as it collects. Rushing this with high heat browns the skin before the fat underneath has rendered.
Watch for A steady, quiet sizzle — not an aggressive crackle.
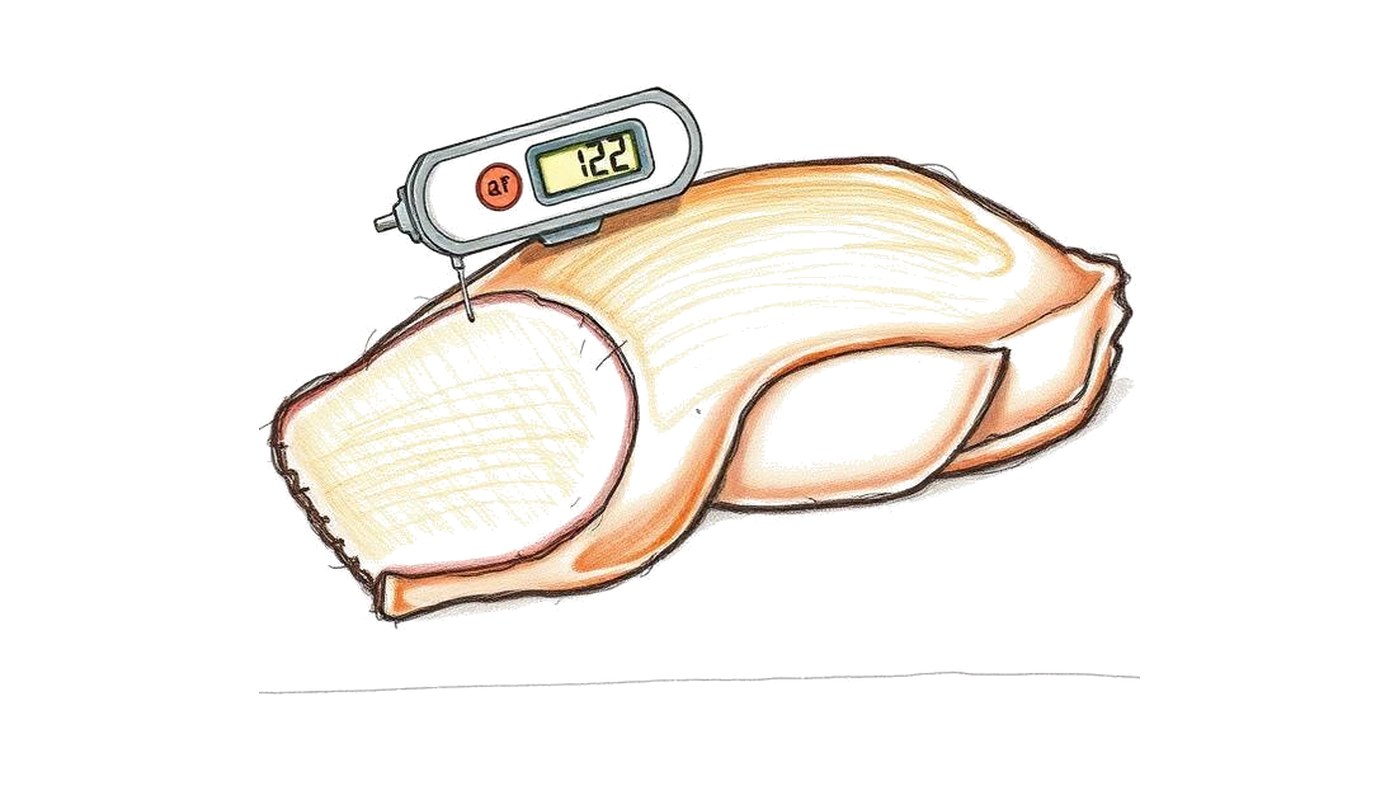
Use a thermometer, every time
Probe the thickest part of the muscle, away from bone. Duck varies too much for a time chart to be authoritative, and carry-over heat keeps climbing after the pan or oven.
Watch for Pull before your target if you're resting the meat; it will continue to rise.
Rest before slicing or carving
Give breast several minutes and a whole bird longer before cutting. Slicing immediately dumps juice onto the board and drops the eating temperature faster than resting does.
Watch for Rest skin-side up, uncovered — a foil tent softens the crust you just built.
Temperature and safety quick reference
| What | Number | Status |
|---|---|---|
| USDA minimum for duck (whole and pieces) | 165°F / 73.9°C | Official food-safety guidance |
| Duck breast served pink | Commonly 130–140°F / 54–60°C | Widespread culinary convention — below USDA guidance, carries risk |
| Duck legs, braised or confit | Well past 165°F, cooked until tender | Culinary endpoint that also exceeds safety guidance |
| Higher-risk eaters (children, older adults, pregnancy, immunocompromised) | 165°F / 73.9°C | Follow official guidance, no exceptions |
Full detail: duck breast temperature and doneness, or work it through interactively with the duck doneness guide.
Your first duck shopping checklist
Six things cover every method on this site. The gear pages explain how we think about each category and what the trade-offs are, using published specifications and the requirements of the methods themselves.
Instant-read thermometer
The only way to know where a duck breast or leg actually is inside. Buy this before anything else. How to choose a duck thermometer.
Heavy skillet you trust on low heat
Duck breast starts in a cold, dry pan and renders slowly; thin pans run hot and scorch the fat. Choosing a pan for duck breast.
Small sharp knife with a controllable tip
Scoring is shallow, precise work. A large blade makes depth harder to feel. Choosing a knife for scoring skin.
Paper towels
A dry surface is the single biggest lever on crisp skin. Pat, then pat again.
Rack and a tray (for whole birds)
Lets rendered fat drain away and air circulate under the bird instead of steaming its underside.
Heatproof jar or container
For the rendered fat you pour off — the most valuable byproduct in the kitchen. How to render and store duck fat.
Sourcing the bird itself: where to buy duck online, and buying duck fat if you'd rather not render your own first.
Your first duck: two recommended paths
Not sure which? The method finder asks what you have and what time you've got, and the pairing finder handles flavour once the method is settled.
Quack Fix: first-timer mistakes
Skin is soft, pale, or rubbery
- Likely cause
- Wet surface, or fat rendered too fast over high heat
- Fix now
- Pour off the fat, lower the heat, and give the skin more time face-down
- Prevent next time
- Dry the skin thoroughly and start breast in a cold, dry pan
Breast came out grey and tough
- Likely cause
- Cooked by time rather than temperature, or no rest before slicing
- Fix now
- Nothing mid-cook; slice thinner across the grain and serve with a sauce
- Prevent next time
- Probe the thickest part and rest before slicing
Legs are chewy and stringy
- Likely cause
- Treated like breast and cooked fast to a pink target
- Fix now
- Return them to low, moist heat and keep going until they yield
- Prevent next time
- Braise or confit legs; they need time, not restraint
Smoke, spatter, and a scorched pan
- Likely cause
- Rendered fat left in a screaming-hot pan
- Fix now
- Pull the pan off the heat and pour the fat into a heatproof container
- Prevent next time
- Drain fat every few minutes and keep the heat moderate
Whole bird is dry on the breast, undercooked at the thigh
- Likely cause
- One target temperature applied to two very different muscles
- Fix now
- Rest the bird, then return the legs alone to the oven
- Prevent next time
- Probe both, and plan the roast with the cooking time planner
Use the Whole Duck
Two things come out of nearly every duck you cook, and both are worth keeping.
Rendered fat
Strain the fat you poured off into a clean jar and refrigerate it. It's the best roasting-potato fat there is.
How to render duck fatCarcass and trim
Bones, wing tips, and neck make a deeply flavoured stock — the base of the sauce for your next duck.
Ways to use duck fat