
Short answer
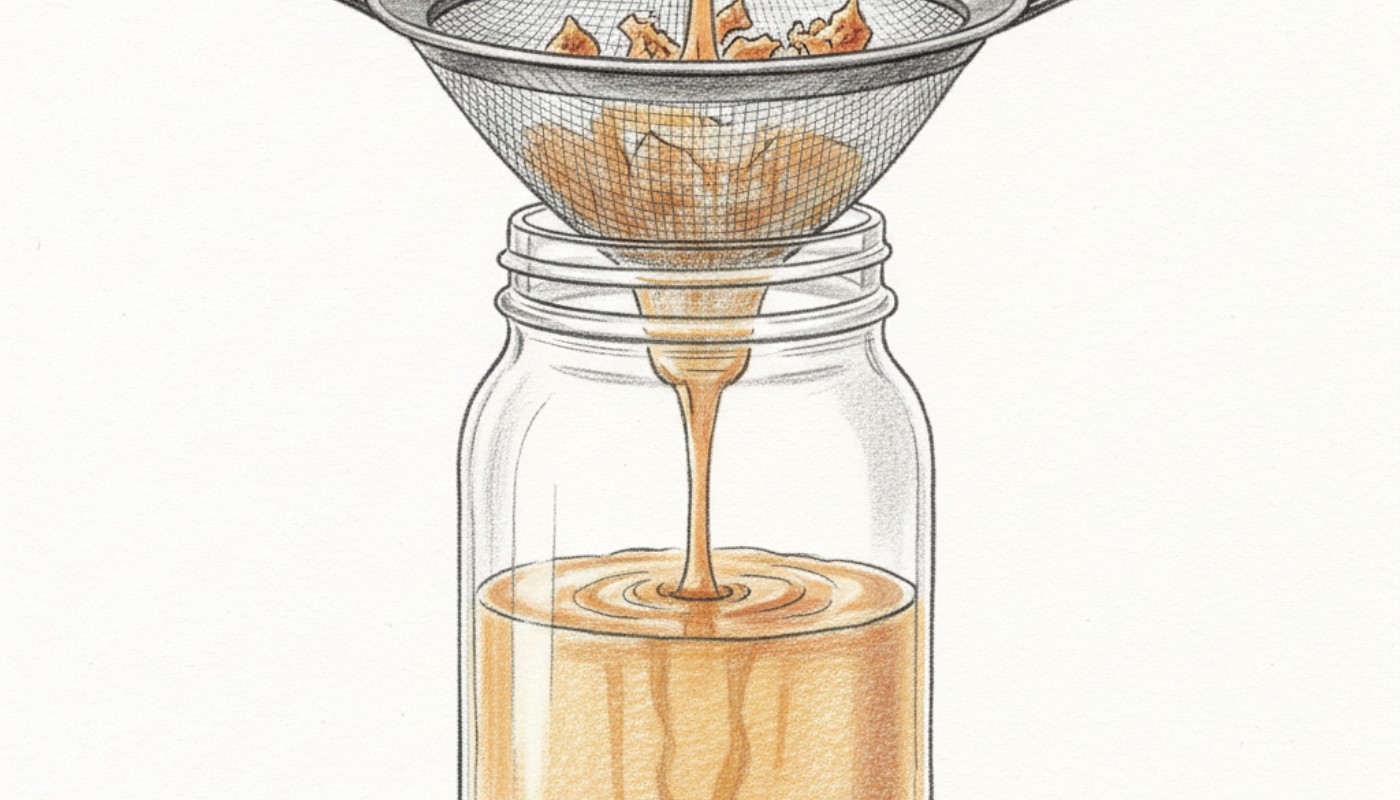
Render duck fat by cooking trimmings or skin, cut small, in a heavy pan over low heat with a splash of water until the solids turn golden and stop bubbling — usually 30–45 minutes. Strain it while warm through a fine sieve; it keeps refrigerated for months and freezes indefinitely.
Where the fat comes from
You don't need to buy a bag of duck fat to have plenty on hand. Every duck you break down leaves behind three sources worth keeping:
- Trim fat — the visible pads around the cavity opening, neck, and tail. This is the cleanest source and renders the palest fat.
- Skin offcuts — trimmed skin from breasts you're squaring off, or skin left on a carcass after carving. It renders more slowly than pure fat because it's mostly connective tissue and moisture until the fat separates out.
- Roasting-pan drippings — the fat and juice left after roasting a whole duck. This fat has already been through heat once and carries roasted flavour, but it's mixed with meat juices that need separating out before storage.
A single 2.2–2.7 kg (5–6 lb) whole duck typically gives up 200–400 g (about 1–1.75 cups) of rendered fat between trim and pan drippings, depending on breed and how closely it was trimmed. Freeze trim in a bag until you have enough to make a render worthwhile — under about 150 g it's barely worth heating a pan for.
Why cutting it small matters
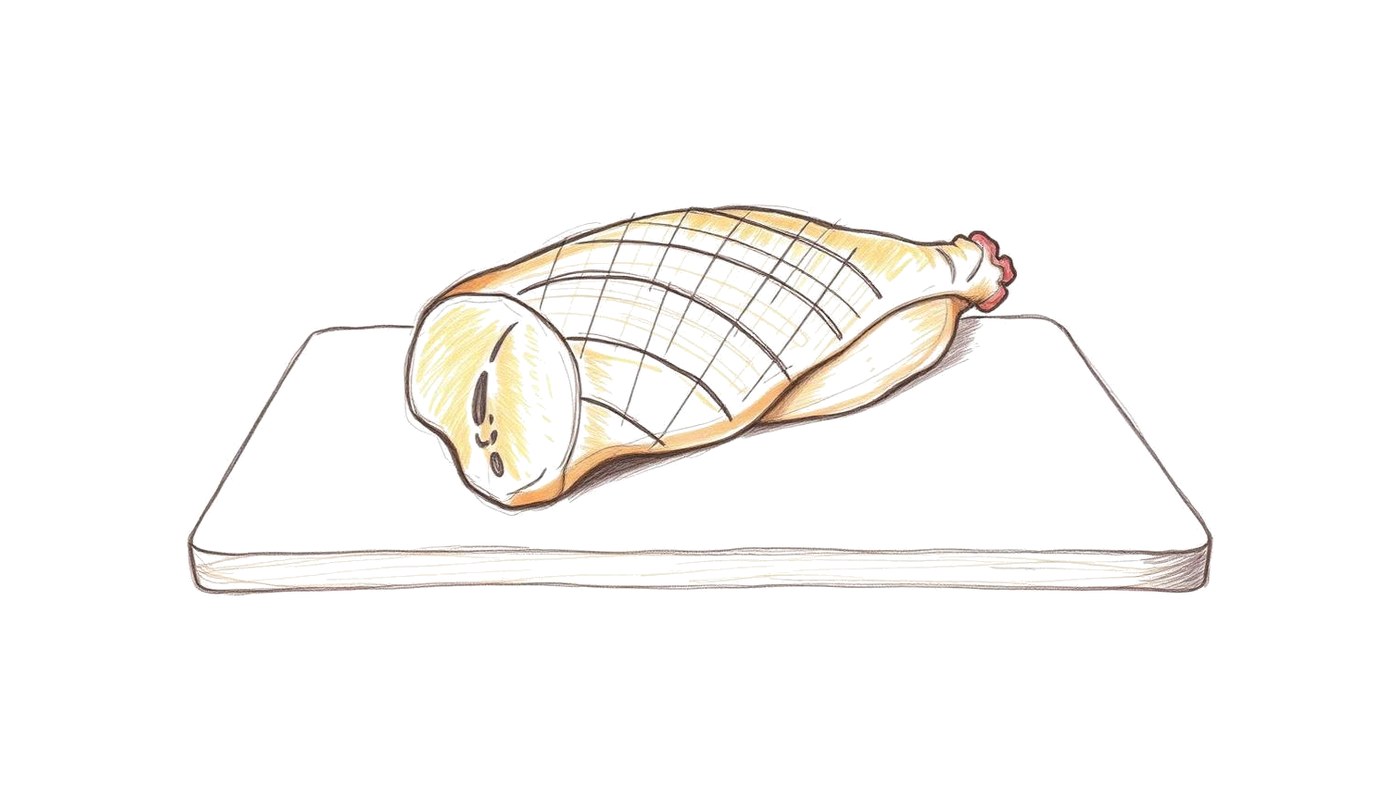
Fat renders from the outside in. A pea-sized cube of fat has far more surface area relative to its volume than a walnut-sized chunk, so it releases its fat faster and more evenly. Cut trim into roughly 1 cm (½ in) pieces before it goes in the pan. Pieces cut smaller than that scorch before the fat next to the pan surface has fully rendered; pieces left larger can take twice as long and leave a stubborn, half-rendered core that you end up discarding.
If the fat is very cold or half-frozen, it cuts more cleanly — a warm, soft pad slides under the knife instead of separating.
Water-start versus dry low-heat rendering
Two methods produce clean fat. They differ mainly in how forgiving they are of an inattentive cook.
| Water-start method | Dry low-heat method | |
|---|---|---|
| How it works | Cover cut fat with about 1 cm of water in a heavy pot, then simmer. Water boils off as fat renders, and the water buffers the pan from scorching until it's gone. | Cut fat goes straight into a dry, heavy pan over the lowest possible burner setting, sometimes with a splash of water at the very start to protect against a fast heat spike. |
| Forgiveness | More forgiving — the boiling water keeps the pan below scorching temperature for most of the cook. | Less forgiving. There's nothing between the fat and the pan once it starts rendering; a moment of too-high heat browns the solids. |
| Time | Often 20–30 minutes longer, since energy goes into evaporating water first. | Faster once it gets going, but needs closer attention throughout. |
| Best for | Beginners, or rendering a large batch you can't stand over the whole time. | Small batches, or once you've done it enough times to judge the smell and sound. |
Both methods finish the same way: fat clarifies from cloudy white to clear gold, and the solid bits (cracklings) shrink, darken, and start to float rather than sink.
Target pan temperature and why you stay below smoking
Keep the fat in a gentle range of roughly 200–225°F (93–107°C) — a lazy simmer with small, intermittent bubbles, not a rolling boil or a shimmer. Duck fat's smoke point is commonly cited around 375°F (190°C), but that figure varies with how much moisture and protein is still suspended in it, so treat it as a ceiling to stay well clear of, not a target to approach. Past the smoke point the fat breaks down, turns acrid, and the flavour doesn't recover — you can't cook a burnt taste back out.
How long it takes, and when it's done
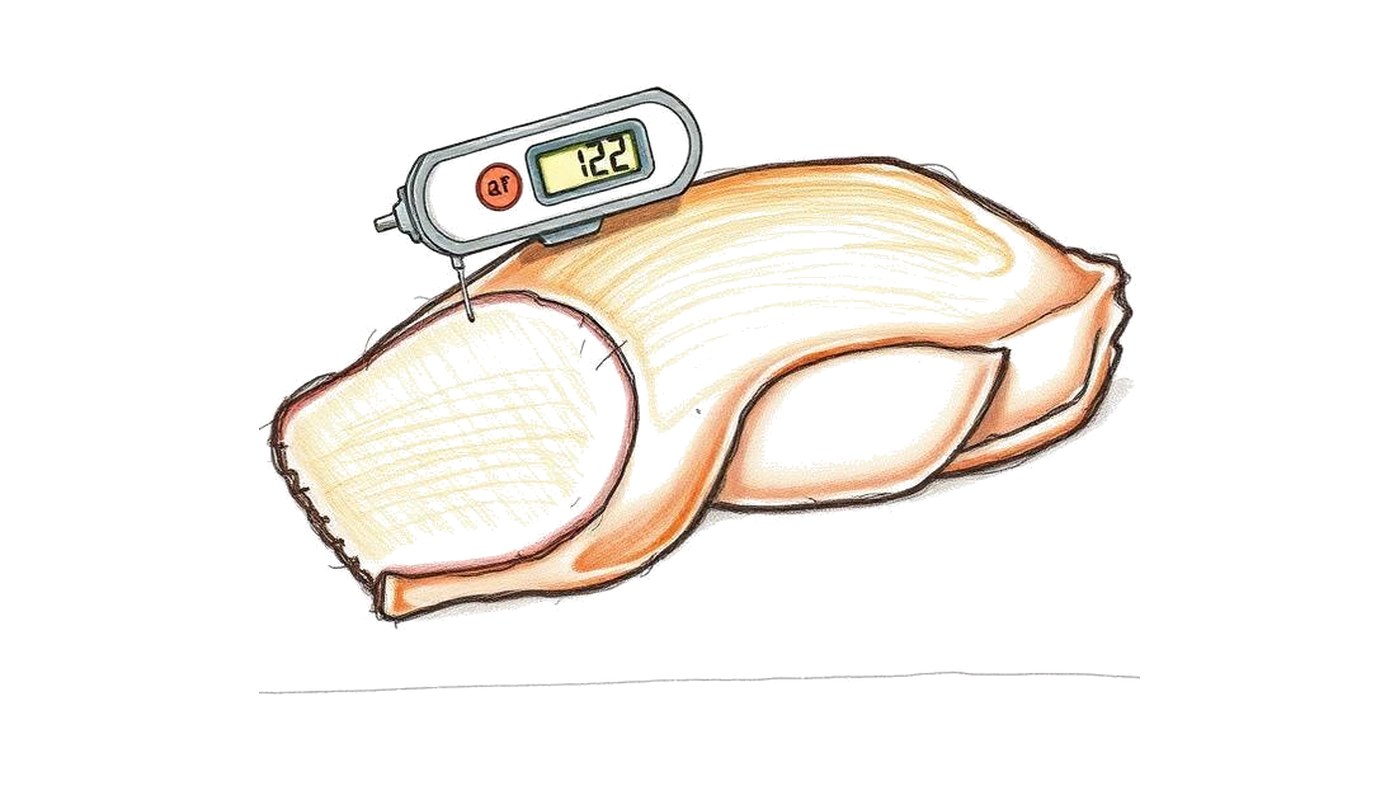
For a batch of 300–500 g of cut trim, expect 45–90 minutes at low heat, longer with the water-start method. Cracklings tell you more reliably than a clock: they go from pale and soft to golden-brown and noticeably firm, and they start floating to the surface instead of clumping at the bottom. Fat itself turns from cloudy and pale to clear and light gold. Once both signs show up, pull the pan off the heat — cracklings continue browning in residual heat, and can go from perfect to burnt within a minute or two of sitting in hot fat.
Cut and chill the fat
Trim visible fat and skin into roughly 1 cm pieces. Chilling firms it up for cleaner cutting.
Choose your method and start low
Water-start for a forgiving first attempt, dry pan once you're confident. Either way, start the burner on its lowest setting.
Watch for A hard boil or visible shimmer in the first ten minutes — turn the heat down.
Render slowly, stirring occasionally
Stir every 10–15 minutes so pieces render evenly and nothing sticks and scorches at the bottom.
Watch the cracklings, not the clock
Pull the pan once cracklings are golden-brown, firm, and floating, and the fat runs clear.
Strain hot, through fine mesh
Pour through a fine-mesh sieve into a heatproof jar while the fat is still liquid. For the clearest fat, line the sieve with a layer of cheesecloth or a clean cotton cloth for a second pass.
Separate any meat juice
If you're rendering pan drippings, chill the strained liquid uncovered until the fat solidifies on top. Lift the fat cap off and discard or refrigerate the jellied juice underneath separately — juice mixed into stored fat shortens its shelf life sharply.
Storage windows, stated honestly
Clean, well-strained duck fat with no meat juice mixed in keeps refrigerated for about 2–3 months in a sealed container, and up to about 6 months in the freezer. Fat that still carries some meat juice or wasn't fully strained will turn much sooner — treat it more like 3–5 days in the fridge, similar to cooked meat drippings, unless you use it quickly.
Keep it in a sealed glass jar away from light, and don't leave it at room temperature for extended prep sessions — pull only what you need and return the jar to the fridge. Once you have a jar, the ways to use duck fat guide covers what it is genuinely better at than butter or oil, and the duck fat buying guide covers what to look for if you would rather buy it rendered.
Signs it has gone off
- Smell — a sharp, sour, or paint-like odour instead of a clean, faintly savoury one is the clearest sign. Trust your nose over the calendar date.
- Colour — fresh rendered fat is pale gold to ivory when solid. Grey, yellowing, or darkening patches suggest oxidation.
- Cloudiness after storage — some cloudiness on melting can be trace moisture and is not automatically spoilage, but persistent cloudiness combined with an off smell is.
- Off flavours when cooked — a bitter or "cardboard" aftertaste when you fry with it means the fat has oxidised even if it still looks fine cold.
When in doubt, throw it out — rendered fat is cheap to make again, and a spoiled batch will flavour everything you cook in it.
Use the Whole Duck
Rendering fat is itself a way to use trim you'd otherwise bin — and the fat you get out has its own second life.
Rendered duck fat
Roast potatoes, confit legs, or fry eggs in it once it's clean and strained.
15 ways to use duck fatCracklings
Salt them while warm and scatter over salads, mashed potatoes, or grain bowls for crunch.
Jellied meat juice
Separated from the fat cap, this makes a concentrated base for pan sauces or gravy.
Leg meat and carcass
If you're rendering pan drippings from a whole roast, the carcass still owes you stock.
Carving guide
Quack Fix: rendering problems
Fat tastes burnt or bitter
- Likely cause
- Heat spiked above a gentle simmer at some point, scorching solids in contact with the pan.
- Fix now
- There's no rescuing burnt fat — strain out what you can and start a fresh batch at lower heat.
- Prevent next time
- Use the water-start method until you trust your burner's lowest setting, and stir every 10–15 minutes.
Fat turns cloudy or spoils fast
- Likely cause
- Meat juice or fine solids weren't fully strained out before storage.
- Fix now
- Re-strain through cloth-lined mesh and use the batch within a few days rather than the full storage window.
- Prevent next time
- Chill drippings first and lift the solid fat cap off the jellied juice before jarring.
Low yield from a good amount of trim
- Likely cause
- Pieces were cut too large, or the render was pulled before fat fully separated from connective tissue.
- Fix now
- Return under-rendered cracklings to low heat for another 10–15 minutes.
- Prevent next time
- Cut trim to about 1 cm pieces and judge doneness by the cracklings, not a fixed time.
Kitchen fills with smoke
- Likely cause
- Pan temperature exceeded the fat's smoke point, or fat spattered onto a hot burner element.
- Fix now
- Remove the pan from heat immediately and let it cool before deciding whether the batch is salvageable.
- Prevent next time
- Keep the burner low, use a heavy pot that holds heat evenly, and never leave rendering fat unattended.
Render, buy, or skip it?
Rendering is worth it when the raw material is already in your kitchen. When it isn't, buying or swapping is the sane answer.
You have trim, skin or a roasting tray
Render it — the method above
Anything from about 150 g of trim upwards is worth heating a pan for, and the yield is free fat you'd otherwise bin.
You want it ready, or you need a lot of it
Buy it rendered
Confit and a few rounds of roast potatoes go through more fat than one bird gives you. The guide covers formats, label terms, and how long an opened tub keeps.
Duck fat buying guideThe dish doesn't hang on duck flavour
Use another fat
If you're cooking one tray of potatoes tonight and have no trim saved, a high-heat oil gets you crisp — just not the savoury note.
Work out the swap
Common questions
- Can I render fat from raw skin without any trim?
- Yes, though skin renders more slowly since it's a mix of fat and connective tissue. Cut it small and expect the cook to run toward the longer end of the range.
- Do I need to add water every time?
- No — it's a safety margin for anyone still learning how their stove behaves at low settings, not a required step.
Related guides
- 15 Ways to Use Duck FatWhere duck fat beats butter or oil, and where it's just expensive.
- Duck Fat Buying GuidePackaging, labels, storage — and how much you actually need.
- Duck-Fat Substitution CalculatorSwap butter or oil for duck fat across tbsp, cups and grams.
- Duck Leg ConfitCure, poach, chill, crisp — and the storage rules people get wrong.
- Duck Fat Roasted PotatoesParboiled, roughed up, and roasted in preheated duck fat until the outsides shatter and the insides stay fluffy.
- Best Pot for Duck ConfitFit beats brand — and you may already own the right pot.
- Is Duck Healthy?The real numbers for skin-on and skin-off duck, and how duck fat actually compares.
References
- Refrigerator & Freezer Storage Chart — U.S. Food and Drug AdministrationCold-storage windows for raw and cooked poultry.Reference checked 2026-08
- Duck and Goose from Farm to Table — USDA Food Safety and Inspection ServiceHandling, labelling, storage and cooking guidance specific to duck and goose.Reference checked 2026-08