
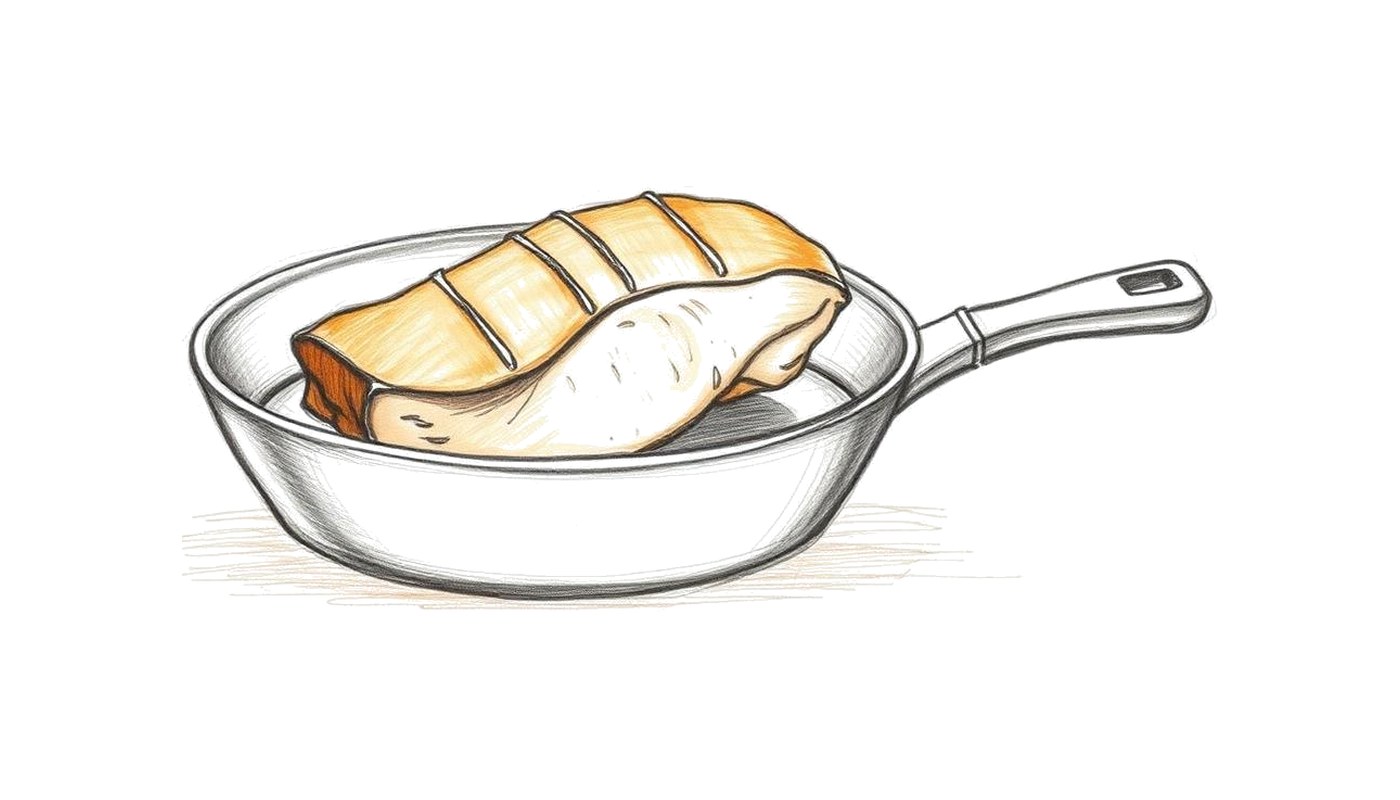
Why a cold pan, not a hot one
Duck breast carries a thick fat cap between the skin and the muscle. That fat needs time and a moderate, sustained heat to melt out through the scored channels. Drop a scored breast into a screaming-hot pan and the outer surface of the skin seizes and browns before the fat beneath it has had any chance to liquefy — you get a dark, leathery skin sitting on top of a layer of unrendered fat, which is chewy rather than crisp no matter how long you leave it after that point.
Starting the breast skin-side down in a cold or barely warm pan means the pan and the fat heat up together. As the pan climbs from room temperature through roughly 250–300°F (121–149°C) at the skin surface, the fat has time to render steadily, and the skin dries out and crisps as the fat leaves it rather than before. This is the entire physical argument for the cold-pan method: it trades speed for a longer window during which fat can escape before proteins in the skin lock into a tough layer.
Score before the pan is ever hot
Score the skin in a tight parallel or diamond pattern, cutting through the fat layer but stopping at the membrane just above the meat — see how to score duck breast for spacing and knife angle. Scoring multiplies the surface area of fat exposed to heat and gives rendered fat channels to escape through instead of pooling under an unbroken skin. Do this while the breast is cold, straight from the refrigerator — cold fat is firm and cuts cleanly, while room-temperature fat smears under the blade.
The cold-pan method, step by step
Pat dry and season just before cooking
Blot the skin fully dry with paper towel and season both sides with salt. Salting more than a few minutes ahead is fine, but wet skin steams instead of rendering, so dry it again immediately before it goes in the pan.
Place skin-side down in a cold, dry pan
Use a heavy pan with real thermal mass — cast iron or a thick stainless clad pan holds the slow climb better than a thin pan that swings with the burner. No oil is needed; the duck supplies its own fat within a minute or two.
Watch for A pan that's already hot. If it hisses on contact, it's too late — start over with a cooler pan.
Bring the heat up gradually over 8–12 minutes
Set the burner to medium-low and let the pan warm with the duck in it. You are listening for a slow, steady sizzle, not an aggressive one. This stretch does almost all the fat rendering.
Pour off fat two or three times during the cook
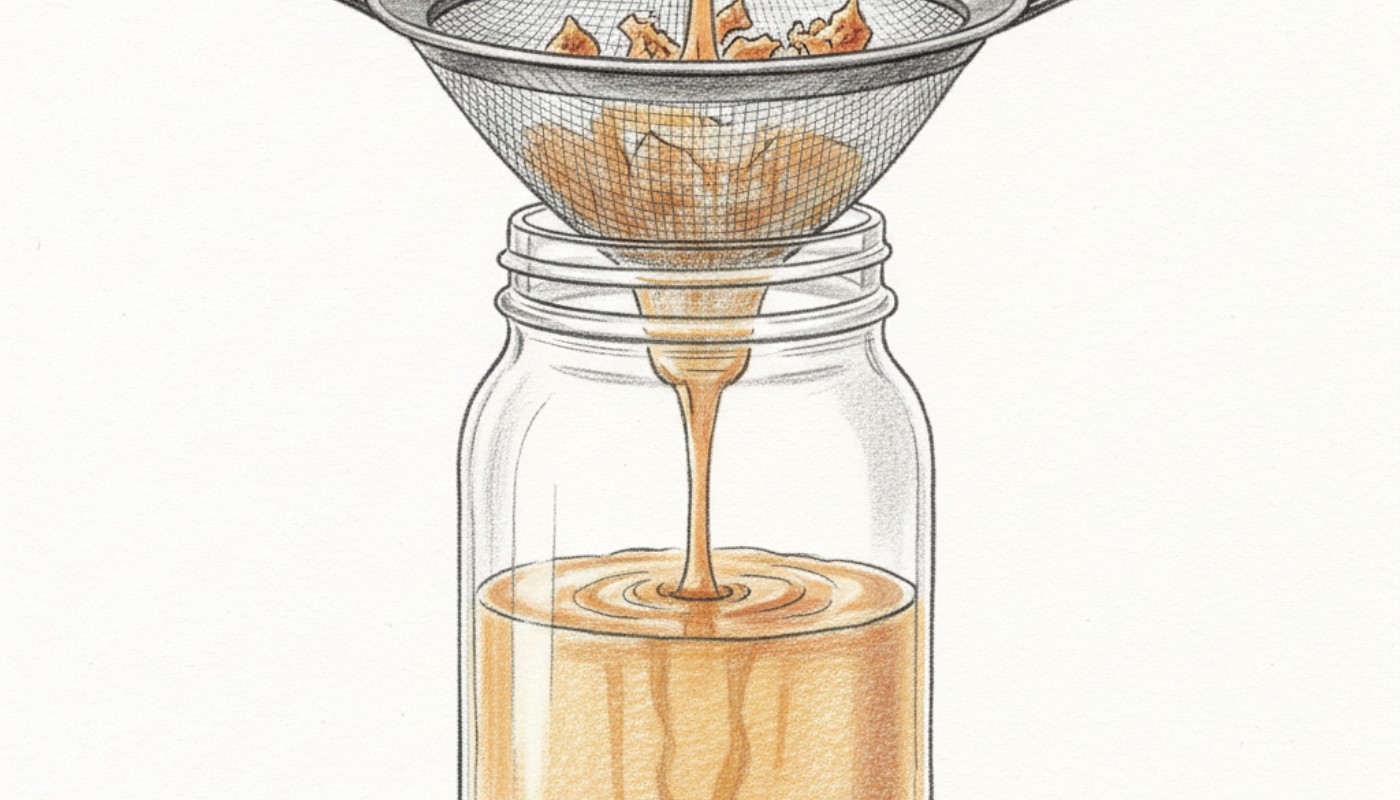
As liquid fat pools in the pan, tip it off into a heatproof container. Deep fat around the breast insulates the skin from the pan and slows crisping — clearing it repeats direct pan contact and speeds rendering. Save the poured fat; it is clean and usable.
Flip once the skin is deep golden-brown and firm
This is usually 10–14 minutes skin-down, though pan and breast size change that. The skin should look uniformly rendered — matte, not glassy, with no soft or translucent patches. Flip and cook the flesh side briefly, generally 1–3 minutes, mainly to set colour rather than to cook it through.
Check temperature with a probe, not a clock
Insert the thermometer through the side of the breast into the thickest part, avoiding the fat cap and the pan surface. Pull the breast a few degrees under your target, since carryover during resting continues to raise the internal temperature.
Rest 5–8 minutes, skin-side up, uncovered or loosely tented
Resting redistributes juices and finishes the internal rise from carryover heat. Resting skin-down or under a tight foil tent traps steam against the crisp skin and softens it.
Slice across the grain, on a slight bias
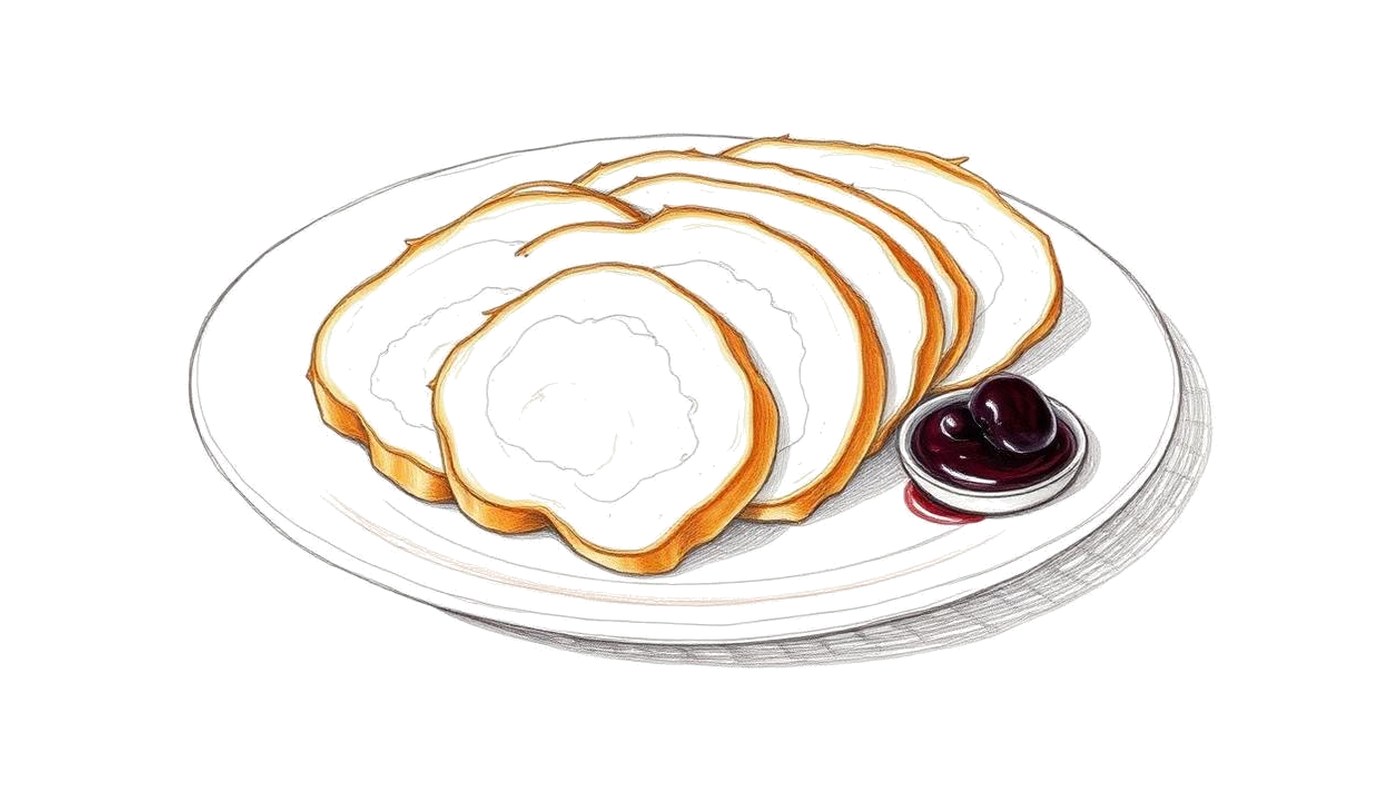
Cut through the skin first with a sawing motion so it doesn't tear, then continue through the meat. Fan slices immediately — the skin loses crispness the longer it sits assembled and cooling.
Cooking duck tonight? Don't guess.
Tell us what you're cooking and we'll build your temperature, timing, crispy-skin and serving game plan — then send it to you with The Duck Drop, our short course on the fundamentals.
- Temperature and resting for your exact cut
- The one move that decides crispy skin
- Timing, portions, and what to serve with it
Ready to cook it
For the exact quantities, timings and rest in one place, use the pan-seared duck breast recipe. If you still need the cut itself, the guide to buying duck online covers which suppliers ship skin-on breasts and what to check on arrival.
The temperature ladder at a glance
| Stage | Approx. skin-surface heat | What's happening |
|---|---|---|
| Cold start | Room temp – 200°F (93°C) | Pan and fat warm together; no browning yet |
| Steady render | 200–275°F (93–135°C) | Fat liquefies and drains through scored channels |
| Crisping | 275–320°F (135–160°C) | Skin surface dries and browns; watch closely here |
| Flip point | ~320°F (160°C) skin surface | Skin is matte gold-brown and firm to the touch |
Quack Fix: cold-pan duck breast
The five failures that account for almost every disappointing duck breast.
Skin is dark brown but still chewy and fatty underneath
- Likely cause
- Pan started too hot, so the surface seized before the fat cap rendered
- Fix now
- Nothing recovers this cook fully; finish to a safe internal temperature and note the pan was too hot at the start
- Prevent next time
- Start the breast in a genuinely cold pan and raise heat gradually over 8–12 minutes
Skin stays pale and rubbery the whole cook
- Likely cause
- Skin wasn't dry, or it wasn't scored, or the pan never got hot enough to finish crisping
- Fix now
- Raise the heat for the final two minutes skin-down and blot any surface moisture with a towel first
- Prevent next time
- Dry the skin thoroughly, score it, and don't crowd the pan
Breast is overcooked by the time the skin is crisp
- Likely cause
- Fat wasn't poured off, so the breast sat insulated in a deep pool and needed longer over heat
- Fix now
- Pour off fat now and finish over slightly higher heat for a shorter stretch
- Prevent next time
- Tip out rendered fat two or three times during the render stage
Thermometer reads unevenly between two probe attempts
- Likely cause
- Probe touched the fat cap, bone, or the pan through the breast
- Fix now
- Re-probe through the side into the geometric centre of the thickest part
- Prevent next time
- Always insert horizontally through the side, not down through the top
Skin has gone soft by the time it's plated
- Likely cause
- Rested skin-side down, tightly covered, or sliced too far ahead of serving
- Fix now
- Nothing brings back crisped skin once steamed soft; serve promptly next time
- Prevent next time
- Rest skin-up, uncovered or loosely tented, and slice just before serving
What you actually need
Duck breast is not an equipment-heavy cook. It is worth being blunt about which of these things changes the outcome and which is a convenience, because the difference is large.
Essential
- A heavy pan you already own. Cast iron or thick clad stainless is ideal, but any pan with real thermal mass will hold the slow climb. If you have one, you do not need another — what to look for in a pan matters only when you are replacing one.
- A thermometer. This is the one item that genuinely changes results, because pulling by clock alone is guesswork on a cut this thin. See thermometers for duck.
- A sharp knife. Whatever knife you own, if it is sharp it will score the fat cap. Sharpness matters more than shape.
Useful
- A heatproof container for the fat you pour off, so you can strain and keep it rather than throwing away the best by-product of the cook.
- A knife with good tip control, which makes scoring more consistent rather than merely possible — blade shapes for scoring.
- A rack or warm plate to rest on, so the skin is not sitting in juices.
Optional
- A leave-in probe, which is convenience for multiple breasts rather than accuracy.
- A splatter screen, purely for cleanup.
- A fat separator or fine strainer, if you render often enough to care.
Shop this guide
What this guide actually asks you to own. If you already have a working version, keep it.
A pan with real thermal mass
Cast iron or thick stainless clad holds a slow, even climb through the render stage far better than a thin pan.
Compare pans for duck breastAn instant-read or leave-in probe thermometer
Pulling breast by time alone is guesswork; a probe placed correctly is the only reliable doneness check.
Compare duck thermometersA knife that scores cleanly without dragging
A blade with good tip control cuts through fat without nicking the meat underneath.
Compare scoring knives
Cooking duck tonight? Don't guess.
If you want skin that shatters and a breast you can call at the right temperature, the playbook is the short version: scoring depth, cold-pan rendering, and the numbers to pull at. Tell us what you're cooking in the Duck Game Plan and we'll build your temperature, timing, crispy-skin and serving plan. Subscribers also get Duck the Fundamentals, the printable 28-page playbook, a short welcome series, and occasional DeliciousDuck recipes and guides.
- Scoring depth and cold-pan rendering, step by step
- Pull temperatures and carryover for breast, with a rest plan
- Why skin turns leathery, and the two fixes that work
- A printable kitchen card with temperatures and timings
You can also read our companion article, the Duck Cooking Starter Guide, plus the temperature and doneness guide and the calculators, right now.
If you're deciding what to buy
This method assumes three things in your kitchen. Each has its own decision guide.
- Best pan for duck breast
Cast iron, carbon steel or stainless clad — the trade-off each one makes across this sequence.
- Best thermometer for duck
The doneness window here is measured in seconds, so read speed and tip thickness matter.
- Where to buy duck online
Breed and cut change how this method behaves. This is how to shop for the right one.
Cooking in an air fryer instead? The rendering problem is the same one, but the appliance solves it differently — low first, then a short burst of high heat. Air fryer duck breast
Related guides
- Duck Breast Temperature & DonenessWhat the numbers mean, and where safety guidance and kitchen practice differ.
- Duck Game PlanAnswer four questions about the duck in front of you and get one card: the real risk, the critical move, temperature, resting, timing, portions and what to serve.
- How to Score Duck BreastDepth, pattern and knife control — the 90 seconds that decide your skin.
- Why Duck Skin Won't CrispSeven symptoms, seven causes, and the fix you can still apply mid-cook.
- Best Sauces for Duck BreastFive sauce families, and which cooking method each one flatters.
- Best Pan for Duck BreastThermal mass versus control, and which one your method needs.
- Pan-Seared Duck BreastScore, render cold, and finish hot for shatteringly crisp skin over a rosy, evenly cooked centre.
- Air Fryer Duck BreastAir fryer duck breast with crisp skin: render the fat gently, finish at high heat, and use a thermometer while managing smoke and hot rendered fat.
- What to Serve With Duck BreastA side-dish matrix built from your sauce, your season and your occasion.
- What Does Duck Taste Like?Closer to steak than chicken — and why fat, not gaminess, drives the flavour.
- Oven-Roasted Duck BreastDuck breast rendered in a skillet and finished in the oven — the steadier route to crisp skin and an even rosy centre when you are cooking four or more.