
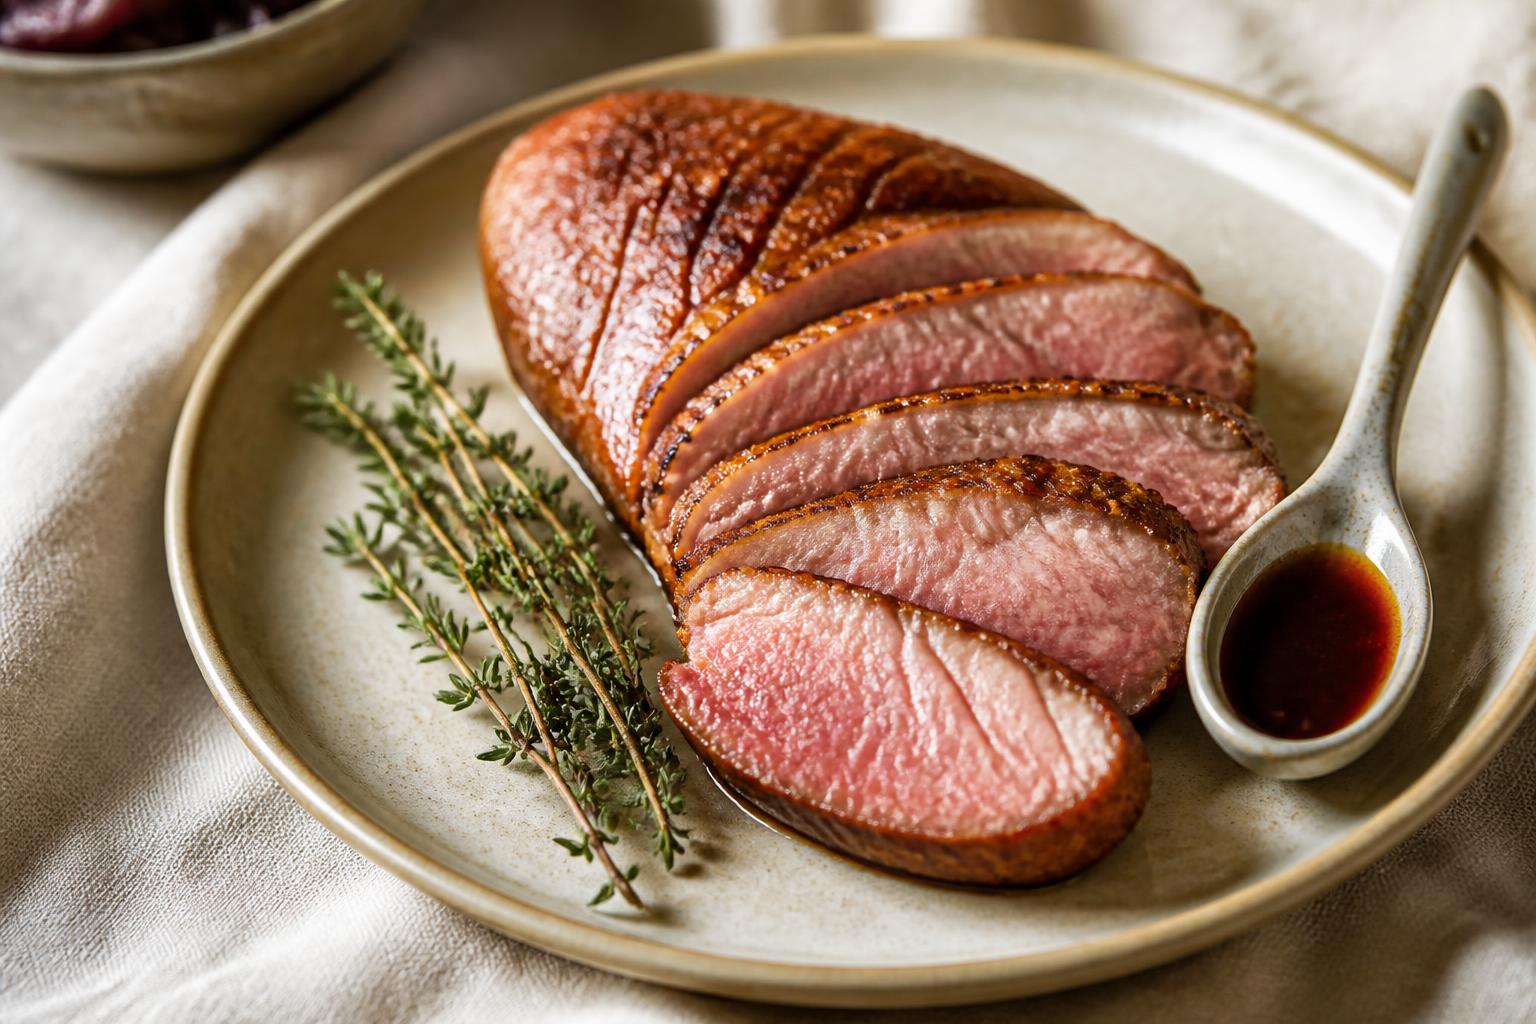
Method basis: established culinary technique and published food-safety guidance. Cook to the stated internal temperatures rather than to the clock. Editorial standards
Ingredients
For the duck
- 4 skin-on duck breasts, about 170–250 g (6–9 oz) each
- 2 tsp fine sea salt (roughly 1% of the breast weight)
- Freshly cracked black pepper, to finish
Optional pan jus
- 1 shallot, finely diced
- 80 ml (⅓ cup) red wine or cherry juice
- 160 ml (⅔ cup) chicken or duck stock
- 1 tsp red wine vinegar
- 20 g (1½ tbsp) cold unsalted butter
Cooking for a different number? Scale the quantities rather than guessing — fat and salt do not scale linearly with guest count.
Equipment that matters
Oven-safe heavy skillet
The same pan renders on the stovetop and goes into the oven, so the skin never leaves the surface that crisped it.
Pan buying guideInstant-read thermometer
Four breasts of different thicknesses will not finish together. Probing each one is the only way to pull them all right.
Thermometer buying guideWire rack
Resting skin-side up on a rack keeps the crust you just built; a plate steams it soft.
Before you start
Dry the skin and salt it
Pat the skin bone-dry and salt it. If you have a few hours, leave the breasts uncovered on a rack in the fridge — a drier surface renders faster and browns better. Heat the oven to 400°F (200°C) before you start rendering, so it is ready when the skin is.
Score the fat cap
Cut a shallow 1 cm (⅜ in) crosshatch through skin and fat only, stopping short of the meat, to open drainage channels. If the knife shows red, you have gone too deep.
Method, step by step
Render in a cold, dry pan
Lay the breasts skin-side down in an unheated, unoiled oven-safe skillet, then set the heat to low. Render for 10–15 minutes, pouring the fat off into a heatproof bowl every few minutes so the skin fries in a thin film rather than a pool.
Watch for The skin should be a deep, even amber and the fat cap noticeably thinner before the pan goes anywhere near the oven.
Transfer the pan to the oven
Leave the breasts skin-side down and slide the whole skillet into the 400°F (200°C) oven for 6–10 minutes, depending on thickness. Oven heat surrounds the meat, so thick and thin breasts even out instead of racing each other.
Watch for Thin breasts under 180 g can be done in as little as 5 minutes. Start checking early.
Probe every breast
Pull the pan out and probe each breast from the side into the centre of the thickest part. Take out any that have reached 130–135°F (54–57°C) for rosy, or 140–145°F (60–63°C) for medium, and return the rest for another two minutes.
Rest skin-side up
Rest on a wire rack for 5–10 minutes, skin-side up and uncovered. Carryover adds roughly 3–5°F, which is already counted in the pull temperatures above.
Watch for The safe minimum for all poultry, duck included, is 165°F (73.9°C). A rosy centre is a common culinary practice rather than a food-safety recommendation.
Optional: build a jus while they rest
Pour off all but a teaspoon of fat, soften the shallot, deglaze with wine or juice, reduce by half, add stock and reduce until it coats a spoon. Off the heat, whisk in the vinegar and cold butter. Slice the breasts across the grain and spoon the jus under the slices, not over the skin.
Temperatures and timings
| Result | Pull temperature | After rest |
|---|---|---|
| Rare | 125–128°F (52–53°C) | ≈130°F (54°C) |
| Medium-rare (most common) | 130–135°F (54–57°C) | ≈135–138°F (57–59°C) |
| Medium | 140–145°F (60–63°C) | ≈145–150°F (63–66°C) |
| Poultry safe minimum | 165°F (73.9°C) | Fully cooked through |
Quack Fix
The four ways this recipe usually goes wrong, what to do about it mid-cook, and how to stop it happening again.
Skin softened in the oven
- Likely cause
- The breasts went in before the fat cap had rendered, so fat melted out under set skin.
- Fix now
- Return the pan to low stovetop heat, skin-side down, for 3–5 minutes and pour off the fat.
- Prevent next time
- Judge the move to the oven by the look of the fat cap, not the clock.
Some breasts overcooked while others were rare
- Likely cause
- Mixed thicknesses pulled at the same moment.
- Fix now
- Nothing to fix afterwards — slice the overcooked ones thinner and serve with jus.
- Prevent next time
- Probe each breast individually and remove them one at a time.
Grey band under the skin
- Likely cause
- The render ran too hot, cooking the meat inward from the surface.
- Fix now
- Slice thin and serve with something sharp.
- Prevent next time
- Keep the render on low; the oven supplies all the heat the meat needs.
Pan smoked in the oven
- Likely cause
- Too much rendered fat left in the skillet.
- Fix now
- Drain the fat and continue.
- Prevent next time
- Pour the fat off two or three times during the stovetop render.
Use the Whole Duck
Nothing here needs to go in the bin. Each of these is worth more than the packaging suggests.
Rendered fat
Strain and refrigerate. Four breasts give you a serious jar of it.
Fifteen uses for duck fatCold cooked breast
Slice thin for sandwiches or a warm salad; avoid hard reheating.
Trimmed skin edges
Fry slowly into cracklings and salt them while hot.
Shop this guide
Where to source what this recipe needs.
Buying duck breast
Breast weights vary widely between suppliers, and cooking four at once makes matched sizes worth asking about. The cut guide covers formats and what to check on arrival.
Where to buy duck breast online
Common questions
- What oven temperature is best for duck breast?
- 400°F (200°C) after a stovetop render. It is hot enough to finish a breast in 6–10 minutes without driving a thick grey band in from the surface.
- Can I roast duck breast without searing it first?
- You can, but the skin will not be as crisp. Duck skin needs slow, direct contact with a pan to render its fat; oven air alone leaves more of it behind.
- How long does duck breast take in the oven?
- 6–10 minutes at 400°F (200°C) after a 10–15 minute stovetop render, depending on thickness. Times are a guide; the thermometer decides.
- Is this better than pan-searing?
- It is better for four or more breasts, or for thick Moulard breasts where a pan alone overcooks the outside. For two ordinary Pekin breasts, the skillet method is simpler.
- Do I cover duck breast in the oven?
- No. Covering traps steam and undoes the crisp skin you just spent fifteen minutes rendering.
Related guides
The technique guides and calculators behind this recipe.
- How to Cook Duck BreastThe cold-pan method, why it works, and how to rescue it when it doesn't.
- Duck Game PlanAnswer four questions about the duck in front of you and get one card: the real risk, the critical move, temperature, resting, timing, portions and what to serve.
- Duck Breast Temperature & DonenessWhat the numbers mean, and where safety guidance and kitchen practice differ.
- Why Duck Skin Won't CrispSeven symptoms, seven causes, and the fix you can still apply mid-cook.
- How to Score Duck BreastDepth, pattern and knife control — the 90 seconds that decide your skin.
- Best Sauces for Duck BreastFive sauce families, and which cooking method each one flatters.
- Interactive Duck Doneness GuideTargets, probe placement and carryover by cut and method.
- Pan-Seared Duck BreastScore, render cold, and finish hot for shatteringly crisp skin over a rosy, evenly cooked centre.
- Air Fryer Duck BreastAir fryer duck breast with crisp skin: render the fat gently, finish at high heat, and use a thermometer while managing smoke and hot rendered fat.
References
- Safe Minimum Internal Temperature Chart — USDA Food Safety and Inspection ServiceAll poultry, including duck and duck pieces, is listed at a 165°F (73.9°C) safe minimum internal temperature.Reference checked 2026-08
- Duck and Goose from Farm to Table — USDA Food Safety and Inspection ServiceHandling, labelling, storage and cooking guidance specific to duck and goose.Reference checked 2026-08