
What dry brining is, in plain terms
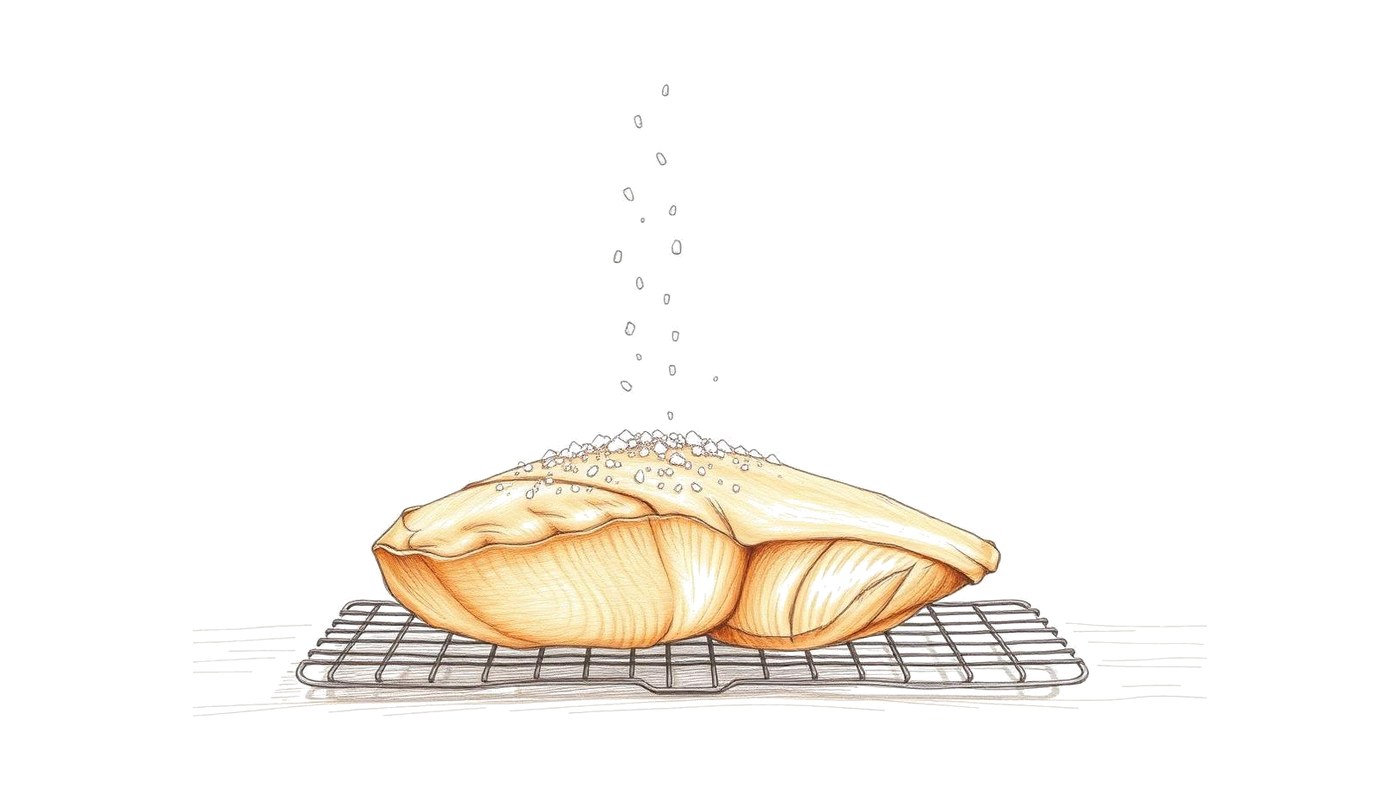
Dry brining means salting duck and then letting it sit, uncovered, in the fridge before cooking. There is no bucket of water and no submersion. The salt draws moisture out of the meat, dissolves in it, and that concentrated brine is drawn back in — so you end up with seasoning that has moved below the surface and a skin surface that has dried out in the fridge's moving air.
For duck specifically, the second half is the point. Wet skin cannot crisp until the water has gone, and a dry, taut skin surface renders and browns far more predictably. Wet brining does the opposite: it adds water to the exact surface you want dry.
Why it suits duck better than wet brining
| Dry brine | Wet brine | |
|---|---|---|
| Effect on skin | Dries the surface — helps rendering and crisping | Wets the surface — works against crisp skin |
| Seasoning | Concentrated; salt moves inward | Diluted; adds water along with salt |
| Fridge space | A rack and a tray | A large container of liquid |
| Risk of over-salting | Moderate, and easy to control by weight | Lower, but flavour is also more washed out |
| Best duck use case | Breast, whole bird, legs before roasting | Rarely the right choice for fatty duck |
Planning salt by weight
Salting by weight rather than by spoon is the single change that makes this technique repeatable, because salt crystals differ enormously in density — a spoon of fine sea salt holds far more salt than a spoon of coarse flakes.
Weigh the duck or the portion, then weigh out salt as a percentage of that weight. As editorial planning guidance rather than a tested formula: around 1% of the meat's weight is a common seasoning-level target for a light dry brine, and roughly 0.75% suits people who prefer things less salty. Below about 0.5% you are unlikely to notice much benefit; well above 1.5% you are moving toward cure territory and should expect a firmer, saltier result. Adjust to your own taste over a few cooks and write down what you liked.
Airflow and fridge setup
The drying half of the technique depends on air reaching the skin. A duck sitting in a sealed container in its own liquid will season but will not dry.
Elevate the duck
Set it on a rack over a tray so air circulates underneath and rendered liquid drains away rather than pooling against the skin.
Leave it uncovered
Uncovered is what allows the surface to dehydrate. Keep it on a shelf where nothing can drip onto other food, and keep raw poultry below ready-to-eat items.
Skin side up
Give the skin the best exposure to moving air; it is the surface whose dryness you are buying.
Blot before cooking
Pat away any visible moisture, especially in the folds and cavity. Do not rinse a light brine — you would undo both the seasoning and the drying.
Timing ranges by cut
These are planning ranges, chosen for how far salt has to travel and how much skin there is to dry — not fixed rules. Shorter still helps; longer is where the skin gets genuinely taut.
| Cut | Useful planning range | Notes |
|---|---|---|
| Duck breast | A few hours up to overnight | Salt flesh and skin separately. Overnight gives noticeably drier, tighter skin. |
| Whole duck | Overnight up to a couple of days | Get salt under the breast skin and into the cavity; the skin surface is large and benefits most from the longer end. |
| Legs and thighs for roasting | Overnight | Robust cut, hard to over-season at seasoning-level salt percentages. |
| Legs destined for confit | Follow the confit method instead | That is a cure with its own salt quantity and duration, not a dry brine. |
| Wild duck | Short — a few hours | Lean and low in fat; long salting can make an already firm bird firmer. |
If you are cooking on a schedule, the cooking time planner helps you work backwards from serving time, and the whole roast duck guide covers the roast itself.
Failure modes
Too salty. Almost always a spoon-measurement problem, or salt applied to a portion far smaller than assumed. Weigh next time; serve with an unsalted starch and a sharp acid to compensate this time.
Skin still not crisp. Usually the duck was covered, or sat in pooled liquid, or the skin was not blotted before it hit the heat. Rendering technique matters too — see why duck skin isn't crispy.
Meat tastes cured rather than seasoned. Too much salt for too long. Drop the percentage and shorten the time; you were curing, not brining.
Common questions
- Is a dry brine the same as a cure?
- No. A dry brine is a light, short salting for seasoning and surface drying. A cure uses much more salt over a longer contact time to change texture and preserve, as in confit or smoked duck, and those quantities and durations belong to the specific method.
- Do I need to rinse the salt off afterwards?
- No, if you salted lightly for seasoning — rinsing washes away the seasoning you just added and re-wets the skin you were trying to dry. Pat away any visible pooled liquid instead. Rinsing only makes sense after a heavy cure.
- Does dry brining make duck safe to eat rarer?
- No. Salting is a seasoning and surface-drying technique, not a safety step. Cook to your own judgement on texture, knowing the safe minimum internal temperature for all poultry, duck included, is 165°F (73.9°C).
References
- Safe Minimum Internal Temperature Chart — USDA Food Safety and Inspection ServiceAll poultry, including duck and duck pieces, is listed at a 165°F (73.9°C) safe minimum internal temperature.Reference checked 2026-08
- Duck and Goose from Farm to Table — USDA Food Safety and Inspection ServiceHandling, labelling, storage and cooking guidance specific to duck and goose.Reference checked 2026-08
- Refrigerator & Freezer Storage Chart — U.S. Food and Drug AdministrationCold-storage windows for raw and cooked poultry.Reference checked 2026-08

Related guides
- How to Season DuckSix seasoning layers, what each one is for, and the order they belong in.
- Duck MarinadesWhen a marinade earns its place — and when it just softens your skin.
- Whole Roast DuckThe full workflow, from dry-fridge prep to a rested, carvable bird.
- Why Duck Skin Won't CrispSeven symptoms, seven causes, and the fix you can still apply mid-cook.
- How to Thaw Duck SafelyFridge-first planning times, plus the cold-water fallback when you're late.